Sản phẩm


.svg)

.svg)
Craft engaging designs to captivate your audience.

Updated May 2026
There's a gap that trips up almost every new print-on-demand seller: a design that looks stunning on screen but comes out flat, blurry, or unreadable on the actual product. Getting print-on-demand design right isn't about artistic talent alone — it's about understanding a small set of rules that separate designs that sell from designs that disappoint.
This guide covers the core fundamentals every GearLaunch seller needs to know before uploading their first file, from font weight and color strategy to file specs and what's actually converting in 2026.
Thin fonts, delicate details, and fine line patterns might look refined on a design file, but they consistently underperform in print. When a DTG or sublimation printer renders your artwork onto fabric, fine elements compress and bleed — turning elegant hairlines into muddy smudges.
Use bold, weighty fonts for any text element. This is especially critical on smaller products like mugs, phone cases, or canvas shoes, where print areas are compact and legibility degrades quickly. Bold display fonts and thick letterforms hold up across product sizes and print methods in a way that thin fonts simply don't.
Avoid intricate details at small scales. A complex illustration that reads clearly at full screen size may lose all its nuance when printed on a 5-inch print area. Zoom your design down to actual product size before uploading — if the detail is still clear, you're good to go. If not, simplify.
In 2026, the trend toward maximalist bold typography is working in sellers' favor. Oversized letterforms, stacked word designs, and high-contrast text treatments are among the top-performing styles on POD platforms — and they're inherently print-friendly.

Fewer colors almost always win. Internal GearLaunch data shows that 47% of merchandise from the top 100 campaigns featured two colors or less. This isn't coincidental — limited palettes print more consistently, photograph better in mockups, and tend to feel more intentional to buyers.
Picking two or three strong, purposeful colors also forces clarity in your design. When every element has to earn its place against a tight palette, the result is cleaner, bolder, and more eye-catching on product pages.
Avoid gradients entirely. Smooth color transitions look beautiful on screen but almost never print as intended — especially on fabric. Colors that fade to nothing create uneven ink application that looks cheap on the final product. The fix is to use halftones instead. A halftone simulates a gradient effect using a pattern of dots at varying densities, producing a consistent print result that holds up across different fabric types and print runs. When using halftones, keep the style consistent throughout your design — mixing a halftone fade with a smooth gradient in the same file creates visual conflict and printing inconsistency.
For 2026, the most commercially successful color approaches pair bold primaries or earth-inspired tones (muted greens, terracotta, ochre) with high-contrast neutrals. Cool patina blues and airy off-whites are also trending strongly and translating well across apparel and home products. See Product Color Best Practices for a full breakdown of how printing methods affect color output.
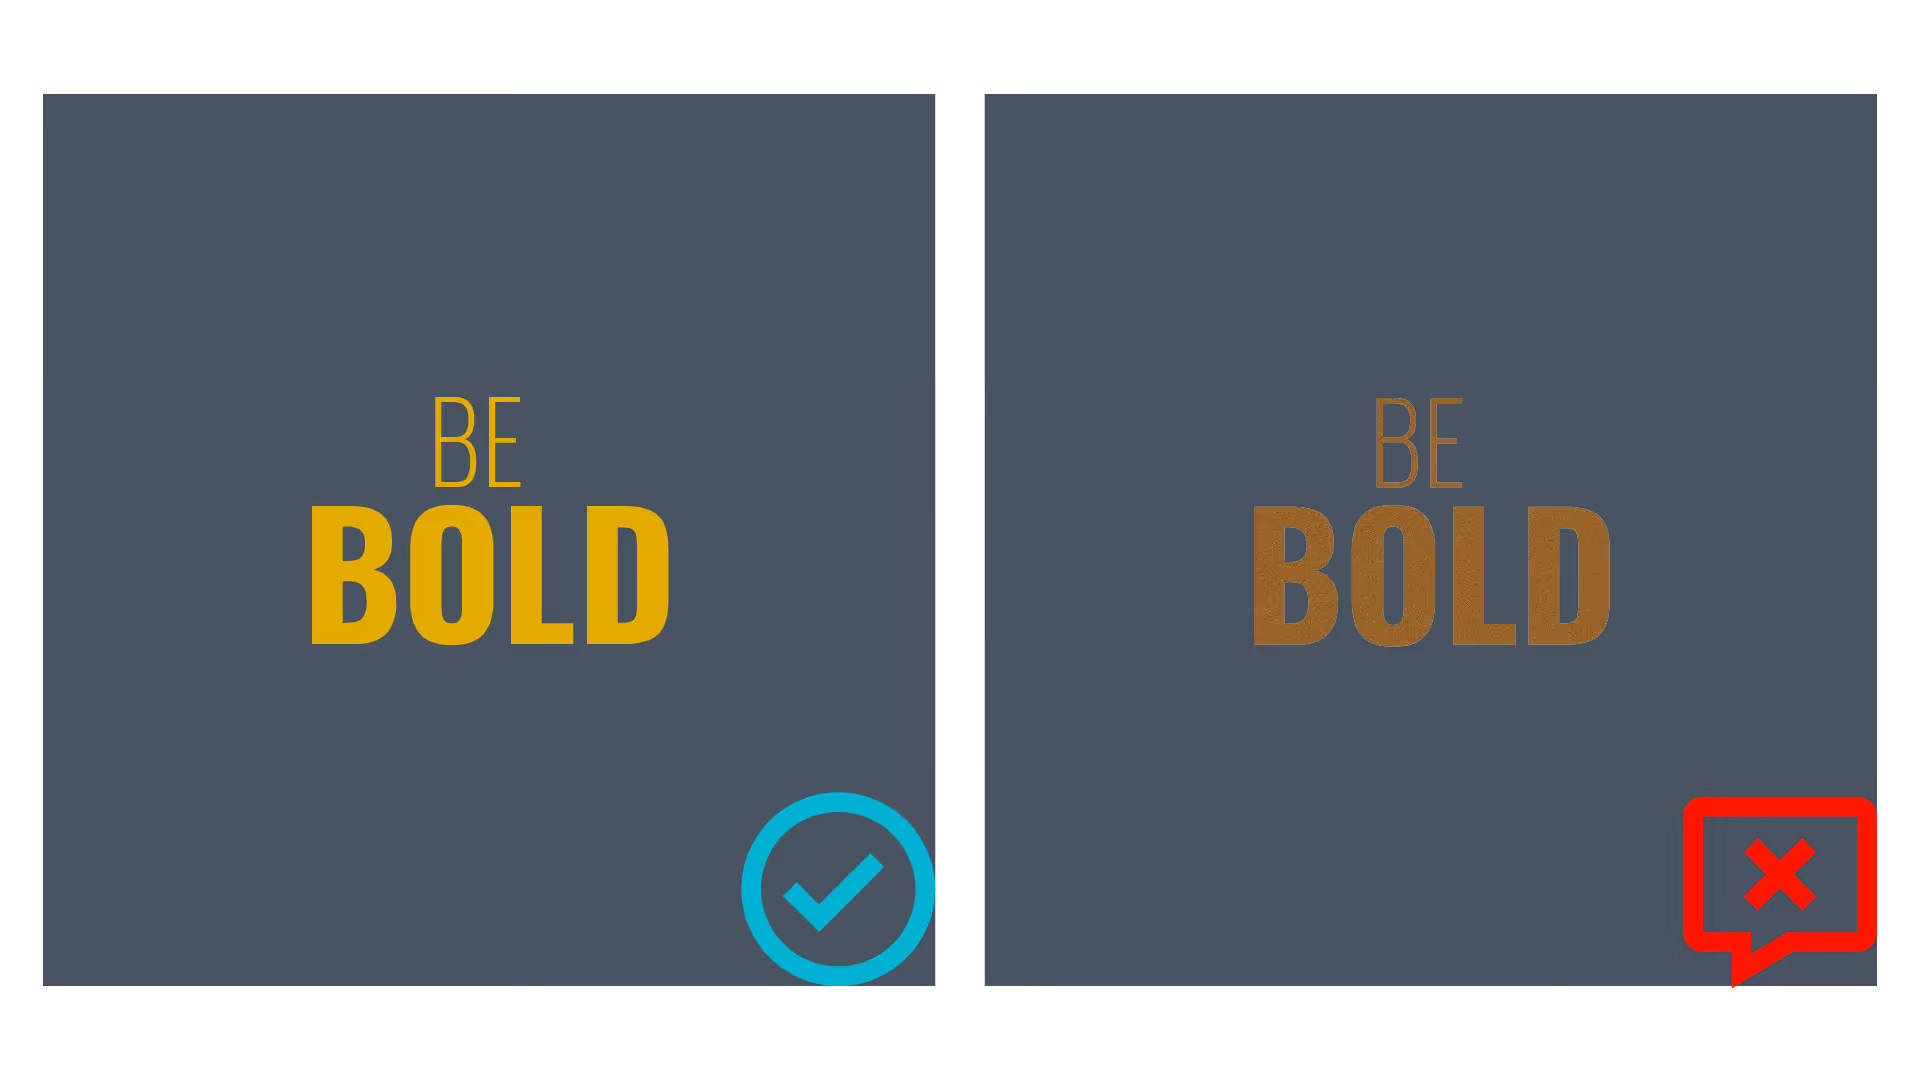
One of the most common and costly design mistakes is matching the dominant color of your design too closely to the garment color. When your artwork and your product share similar tones, the design simply disappears.
Design with the garment color in mind from the start. If you're selling on a black unisex hoodie, any black elements in your design should be removed and replaced with transparency — this lets the garment itself serve as that color. Printing black ink on black fabric doesn't produce a clean result; it creates blotchy color variations that look unprofessional.
The same logic applies across the spectrum. White designs on light-colored shirts vanish. Dark navy artwork on dark blue garments disappears. Always test your design against the actual product color options you plan to offer, and confirm there's strong visual separation between your design and the background.
For all-over-print products like men's tops or women's bottoms, contrast matters even more because the design covers the entire surface — the relationship between color, pattern density, and negative space needs to be intentional across the whole garment, not just the chest area.

Even a brilliant design will fail if the file isn't properly prepared. These are the non-negotiable technical requirements for print-ready POD files:
Resolution: 300 DPI minimum. This is the industry standard for print. A file built at 72 DPI (standard for web) will look pixelated and blurry when stretched across a shirt or blanket. Always build your design at 300 DPI at the actual print dimensions of the product you're targeting.
Color profile: sRGB. This is the standard for digital printing and produces the most predictable output across different products and print partners. Don't export in CMYK unless specifically instructed — it can cause unexpected color shifts in DTG printing environments.
Transparent backgrounds. For apparel, export your design with a transparent background (PNG format) so the garment color shows through correctly. A white background left in your file will print as a white rectangle — a common mistake that results in visible, unwanted borders around your design.
Safe zones and bleed. Every GearLaunch product has a defined print area and safe zone. Keep all critical design elements — text, focal graphics, faces — well inside the safe zone. Anything near the edge risks being trimmed during production. See the full technical guide at From Pixelated to Perfect: A POD Design Guideline for product-specific specs.
Different products have different constraints, and a design built for a t-shirt won't automatically work on a mug, blanket, or canvas print. Before you upload anywhere, ask: does this design make sense on this specific product?
Apparel: Text-heavy designs work best centered on the chest or back. Keep key elements in the middle third of the garment to avoid distortion near seams. Bold, simple graphics photograph better in product listings than intricate ones.
Mugs and drinkware: Designs wrap around cylindrical surfaces, which means wide horizontal layouts work better than tall vertical ones. Short bold phrases stacked around the circumference tend to perform well on mugs and tumblers.
Blankets and home products: Larger print areas reward more detailed or pattern-based designs. All-over patterns, repeat motifs, and edge-to-edge artwork make much more visual impact than a small centered graphic on a large surface. Explore bedroom and bathroom products to see what's working in home categories.
Wall art and canvas: These products support your highest-detail, highest-resolution work. Buyers purchasing wall art expect a level of visual sophistication that goes beyond what typically sells on a t-shirt.
Design trends evolve, but the underlying print principles stay constant. Here's what's performing commercially on POD platforms this year, all of which align with the core rules above:
Minimalist text and quote designs continue to dominate — short phrases in bold typography on neutral backgrounds convert well because they're legible, personal, and versatile across products. Vintage and retro-inspired graphics with faded palettes, halftone textures, and retro fonts are among the top-trending aesthetics on Etsy and TikTok Shop. Bold, monochromatic designs — where the graphic and product share a single color family with strategic contrast — are growing as a niche, especially for matching apparel sets. Hand-drawn and organic aesthetics, sometimes called the "imperfect on purpose" style, are resonating strongly in 2026 as a counterpoint to overly polished AI-generated imagery.
For a deeper look at finding designs that sell in specific niches, read How to Find or Create Popular Designs for Print-On-Demand Products.
What's the most important design rule for print-on-demand? Bold and simple wins every time. Thin fonts, fine details, and complex gradients all degrade during printing. Design for what the product will look like in someone's hands — not how it looks at 100% zoom on your monitor. When in doubt, increase your font weight, reduce your color count, and increase contrast.
Why do gradients look bad in POD printing? Smooth gradients require the printer to blend from one color to another across thousands of tiny print increments. On fabric especially, this produces uneven ink application, banding, or a washed-out fade that looks different from your original file. Halftones — dot patterns that simulate a gradient — produce a consistent, predictable result instead.
What file format should I use for POD designs? PNG with a transparent background is the standard for apparel. It preserves your design edges cleanly, supports transparency (so the garment color shows through), and maintains quality without compression artifacts. For wall art and canvas products, high-resolution PNG or TIFF files at 300 DPI are ideal.
How do I know if my design will print correctly? The best test is ordering a physical sample before launching. Beyond that: check your file at 300 DPI, confirm transparent backgrounds where needed, preview the design against all planned product color options, and verify all text and focal elements are inside the safe zone. GearLaunch provides product-specific templates for this — find them on the relevant product page.
How many colors should a POD design use? Two to three is the sweet spot for most products. GearLaunch's own data shows nearly half of top-performing campaigns use two colors or fewer. More colors add complexity, increase the risk of printing inconsistency, and can make designs feel busy rather than bold.
Your designs are the engine of your store. Get the fundamentals right — bold type, controlled color, proper file prep — and everything else becomes easier. Browse the full GearLaunch product catalog to choose the right canvas for your next design, or go straight to Create a Product and put these principles into action today.


.svg)
.svg)
.svg)